Features
Table of Contents
- Features
This page applies across all Lagomorph platforms: Lagomorph Web, the Unity Plugin, and the Unreal Engine Plugin.
Generation Modes
Image to 3D
Upload a reference image and Lagomorph will morph it into a 3D model. This is the more mature generation mode and generally produces the strongest results.
Lagomorph interprets the shape, proportions, and details in your image to construct a 3D mesh. Clear, well-lit images of single objects against simple backgrounds produce the best output.
Supported Image Formats
- JPEG (.jpg, .jpeg)
- PNG (.png)
- SVG (.svg)
- BMP (.bmp)
Best Practices for Reference Images
- Use high-resolution images: minimum 1024x1024 recommended for best detail capture
- Keep backgrounds clean: simple or transparent backgrounds work best
- Good lighting matters: well-lit subjects with clear details translate better to 3D
- Single objects work best: one clear subject per image gives Lagomorph the best chance at accurate interpretation
- Avoid complex backgrounds: busy or cluttered backgrounds can confuse the 3D interpretation
Image Quality Matters
The quality of your reference image directly impacts the quality of the generated 3D model. High-resolution, well-lit images with clear details and simple backgrounds produce the best results.
Text to 3D (Preview)
Describe what you want in plain language and Lagomorph will morph it into a 3D model.
This feature is still in a preview phase, as we’re actively working on improving quality. Current strengths:
- Inorganic objects produce the best results (props, weapons, furniture, architecture, vehicles)
- Specific, descriptive prompts outperform vague ones
- Style keywords help guide the output (e.g. “low-poly”, “realistic”, “stylized”)
See the Prompt Engineering & Best Practices section below for detailed guidance.
Morphing Parameters
Simplify
Automatically reduces the number of faces on the output model, producing a lighter mesh that’s easier to load and render in real-time.
- When to enable: Most of the time. Game-ready assets benefit from cleaner, more efficient meshes. This is especially important for mobile games or scenes with many objects.
- When to disable: If you need maximum geometric detail and plan to handle mesh optimization yourself in your 3D editor.
Variants (Text morphs only)
When morphing from text, you may choose to morph up to 4 variations of the same prompt, giving you several results to choose from.
Materials & Textures
After generating a 3D mesh, you can request automatic material and texture generation as a post-processing step. Lagomorph analyzes the geometry and your original prompt or reference image to create appropriate textures.
UV mapping is handled automatically. You can use the generated textures as-is or modify them in your preferred image editor or 3D software.
Why are my models gray?
By default, generated meshes don’t include materials or textures. Materials are added as a separate post-generation step. This lets you review the mesh shape before committing to texture generation.
Complete Workflow
Here’s the recommended end-to-end workflow for creating 3D assets with Lagomorph:
1. Define Your Requirements
Before starting, clarify:
- What type of object you need (prop, weapon, vehicle, etc.)
- Art style (realistic, stylized, low-poly, etc.)
- Where it will be used (environment decoration, player equipment, etc.)
- Technical requirements (polygon count, texture resolution)
2. Generate the Model
Choose your generation mode:
- Image to 3D: Upload a reference image for more predictable results
- Text to 3D: Describe what you want in a detailed prompt
Use the Prompt Engineering & Best Practices tips to craft effective inputs.
3. Review Results
Examine the generated mesh:
- Check overall shape and proportions
- Verify level of detail matches your needs
- If using variants, compare multiple options
- Decide whether to generate textures or iterate on the mesh first
4. Generate Materials (Optional)
If satisfied with the mesh shape:
- Request texture generation (this can only be done once after model generation)
- Review the generated materials
- Note: You can skip this step and texture manually in your 3D software
5. Import to Project
Download/import the model into your engine or 3D software:
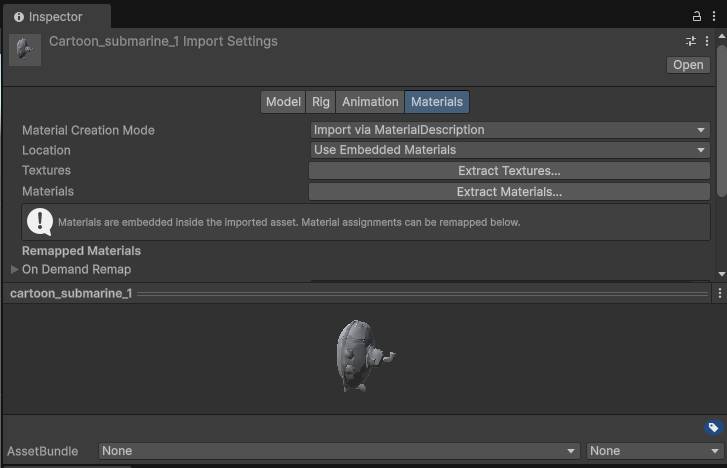
- Unity: FBX format (plugin auto-imports)
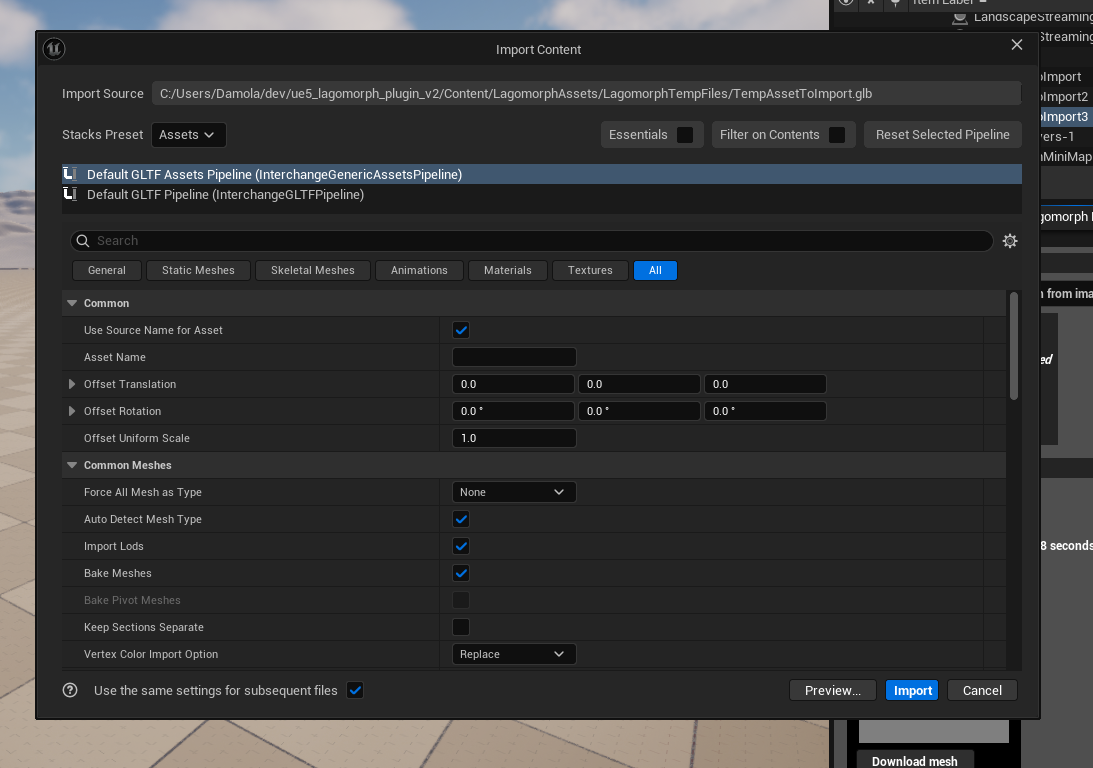
- Unreal Engine: GLB format (plugin auto-imports)
- Other software: Choose appropriate format from Lagomorph Web
6. Iterate and Refine
Use the generated model as a starting point:
- Refine the mesh in your 3D editor if needed
- Adjust materials and textures
- Generate variations with modified prompts
- Combine with other assets in your scene
Export
Supported Formats
| Format | Lagomorph Web | Unity Plugin | Unreal Plugin |
|---|---|---|---|
| FBX | Yes | Yes | - |
| GLB | Yes | - | Yes |
| OBJ | Yes | - | Yes |
FBX is the native format for Unity and is widely supported across 3D software including Blender, Maya, and 3ds Max.
GLB is the native format for Unreal Engine and is also universally supported. It’s a simpler format that works well for static meshes.
Both formats include the mesh geometry and any generated texture files.
Using Lagomorph Web? You can export in either format, which makes Lagomorph Web a good choice when you need flexibility, for example, if you work across multiple engines or want to import into Blender.
Prompt Engineering & Best Practices
These tips apply across all Lagomorph platforms, Lagomorph Web and plugins alike.
Writing Effective Text Prompts
Be Specific
Instead of: “a sword”
Try: “a medieval longsword with ornate crossguard and leather-wrapped handle”
Include Style Direction
"a cartoon-style submarine with rounded edges and bright colors"
"a photorealistic vintage radio with brass dials and wooden cabinet"
"a low-poly stylized tree suitable for mobile games"
Specify Materials
"a rusty iron gate with peeling paint"
"a polished marble statue"
"a wooden barrel with metal bands"
Example Prompts
| Category | Example Prompt | Use Case |
|---|---|---|
| Props | “a Victorian street lamp with ornate metalwork” | Environment decoration |
| Weapons | “a futuristic energy rifle with glowing blue accents” | Player equipment |
| Vehicles | “a military helicopter with camouflage paint” | Transportation |
| Architecture | “a medieval stone well with wooden bucket” | Level design |
Iteration Strategy
Getting the best results often requires iteration. Here’s how to approach it:
- Start simple, add details: Begin with broad descriptions, then add specific details in subsequent morphs
- Generate multiple variations: Morph the same prompt several times and pick the best result (use the Variants feature for Text to 3D)
- Keep track of effective prompts: Save successful prompts for reuse across your project
- Review before texturing: Always check the mesh shape before committing to texture generation
- Experiment with style keywords: Try different style descriptors (“low-poly”, “realistic”, “stylized”) to find what works best
Performance Optimization
- Start with simpler objects before tackling complex assemblies - this helps you learn what works
- Use the Simplify parameter for game-ready assets that need efficient meshes
- Consider your target platform: Mobile games benefit from lower polygon counts
- Plan your morph usage: Check Usage Limits to maximize your monthly allocation
Troubleshooting
Unexpected Results
If the generated model doesn’t match your expectations:
- Refine your prompt: Add more specific details, style keywords, or material descriptions
- Try a different reference image: For Image to 3D, use a clearer photo with better lighting and a simpler background
- Generate multiple variations: Use the Variants feature (Text to 3D) or regenerate multiple times to compare results
- Start simpler: Break complex objects down into simpler components and generate them separately
- Check your prompt against examples: Review the Example Prompts table for inspiration
Generation Taking Too Long
Model generation typically takes 2–5 minutes, but times can vary:
- Check your internet connection: Slow connections can affect upload/download times
- Peak usage periods: Generation may take longer during high-traffic times
- Complex prompts: Highly detailed or complex objects may require additional processing time
- Server status: Occasional server load can impact processing speeds
If generation seems stuck for more than 10 minutes, try refreshing or restarting the generation process.
For platform-specific troubleshooting (installation issues, import errors, etc.), see the troubleshooting sections in Lagomorph Web, Unity Plugin, or Unreal Engine Plugin.
Usage Limits
For information about monthly morph limits and how to maximize your usage, see Usage Limits.
Looking for increased limits? Check out Lagomorph Pro.
Known Limitations
We believe in being upfront about where things stand:
- Text to 3D is in preview: quality is improving but not yet at the level of Image to 3D
- Inorganic objects work best: props, weapons, furniture, and architecture produce the strongest results
- Single objects only: the system works best for individual objects rather than complex multi-part scenes
- Processing times vary: generation typically takes 2–5 minutes but may be longer during peak usage